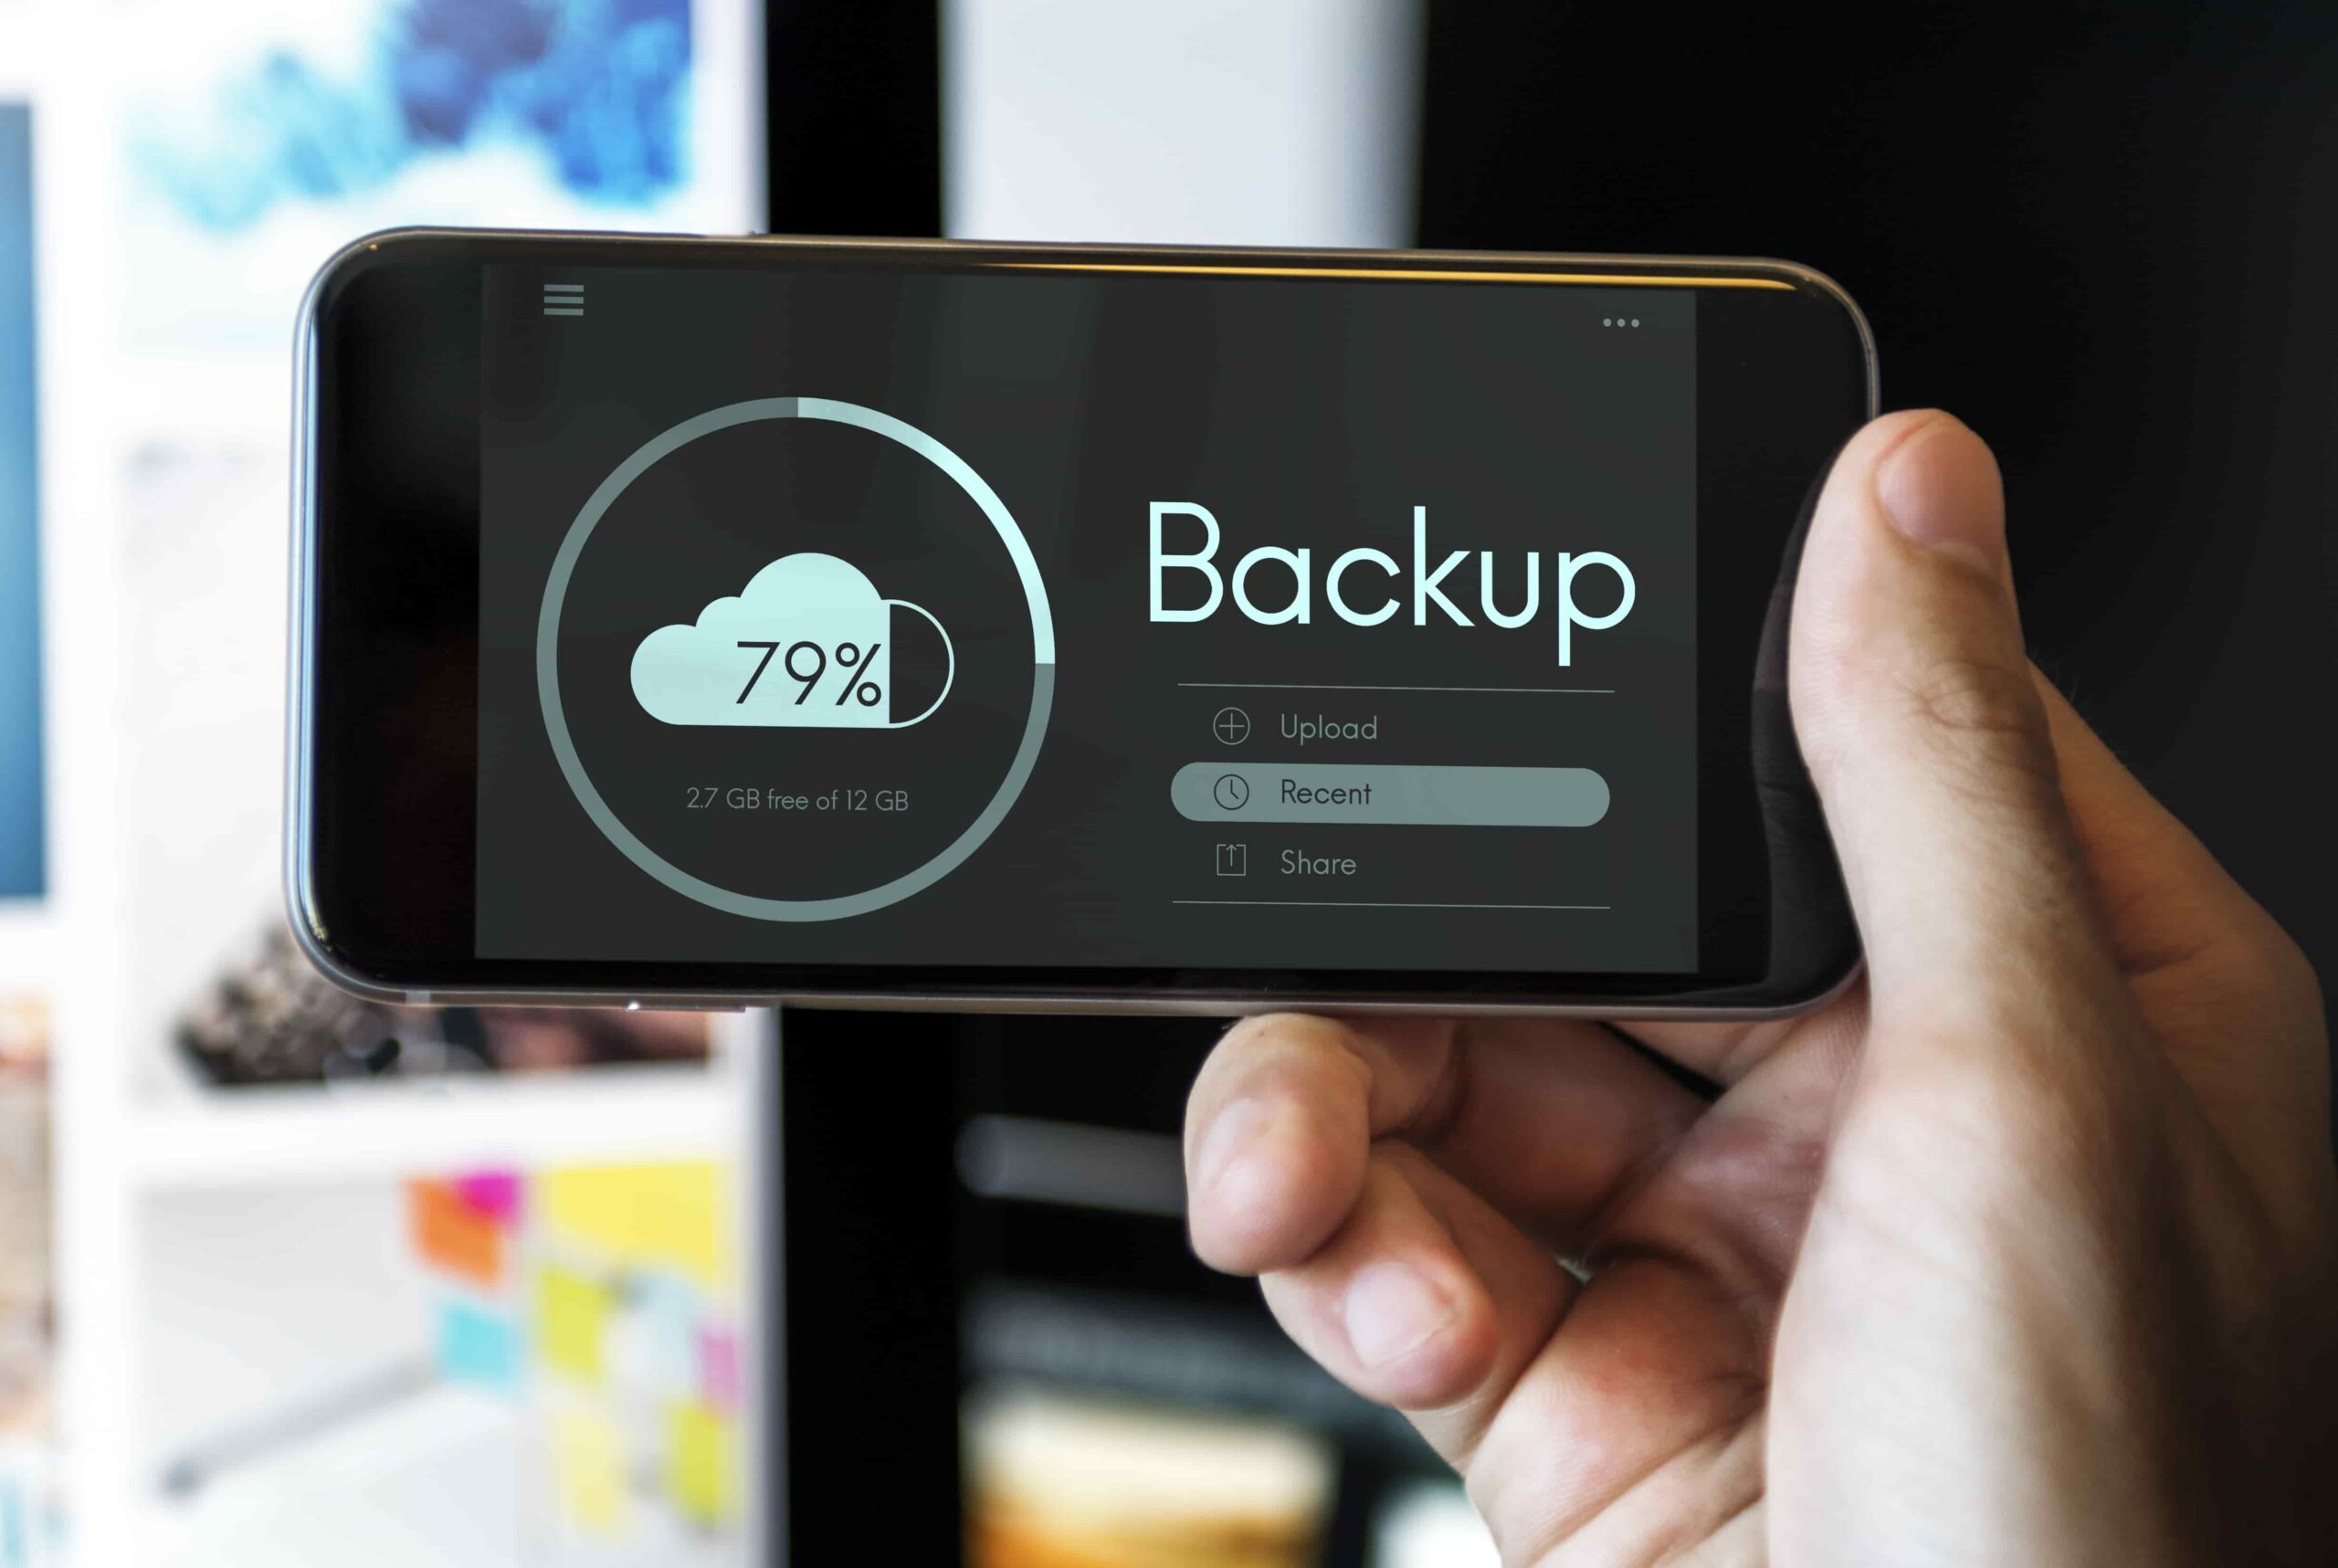
Before handing your iPhone in for repairs, creating a backup is essential to protect your data. Whether you’re dealing with a cracked screen, battery failure, or a malfunctioning device, a backup ensures that your contacts, photos, apps, and settings are safe.
In some cases, repair technicians may need to restore your iPhone to factory settings, meaning all data on the device will be erased. A 2024 survey by Statista found that 21% of smartphone users have lost data due to unexpected device failures, highlighting the importance of regular backups.
Additionally, a backup allows you to quickly restore your settings and information once your iPhone is repaired, preventing the hassle of manually reconfiguring your device.
This guide will walk you through the steps to back up your iPhone using iCloud, a Mac, or a Windows PC, ensuring your data remains secure before your repair appointment.
There are three primary ways to back up your iPhone:
Using iCloud
Wireless backup via the internet
Using a Mac
Via Finder
Using a Windows PC
Via iTunes
Note
Each method is suitable for different needs, depending on your available storage space and internet connection.
Steps to Backup Using iCloud:
Title
Steps to Backup Using iCloud
Connect to Wi-Fi
Ensure your iPhone is connected to a strong and stable Wi-Fi network.
Open Settings
Tap on the Settings app on your iPhone.
Tap on Your Apple ID
Your Apple ID name appears at the top of the screen. Tap it.
Select iCloud
Scroll down and select iCloud.
Tap on iCloud Backup
Ensure the iCloud Backup toggle is switched on.
Start Backup Manually
Tap Back Up Now to start the process immediately.
How to Verify the Backup:
Action
Description
Check Your Backup
Go to Settings > Apple ID > iCloud > Manage Storage > Backups
Verify Backup Details
You should see your latest backup listed with the date and time.
Important Notes:
Tip
Details
Stay Connected to Wi-Fi
Keep your iPhone connected to Wi-Fi until the backup is complete.
First Backup Duration
The first backup may take longer, depending on your data size.
iCloud Storage Limit
If you run out of iCloud storage, you may need to upgrade your plan.
Back Up Your iPhone Using a Mac (macOS Catalina and Later)
If you own a Mac, you can back up your iPhone directly using Finder (macOS Catalina 10.15 and later).
Steps to Back Up Using a Mac:
Step
Description
Connect Your iPhone
Use a USB-to-Lightning cable to connect your iPhone to the Mac.
Open Finder
Click on Finder (it’s the face icon on your Mac’s dock).
Select Your iPhone
In the Finder sidebar, you will see your iPhone listed under “Locations.” Click on it.
Trust the Computer
If prompted, tap Trust This Computer on your iPhone and enter your passcode.
Choose Backup Options
Under Backups, select Back up all of the data on your iPhone to this Mac.
Encrypt the Backup
Tick Encrypt local backup and create a password. This protects sensitive data like Health and Keychain information.
Start the Backup
Click Back Up Now to begin.
How to Verify the Backup:
Action
Description
Check Your Backup on Mac
Go to Finder > Select Your iPhone > Backups
Verify Backup Details
You should see the most recent backup details listed.
Back Up Your iPhone Using a Windows PC (via iTunes)
If you use a Windows computer, you can back up your iPhone using iTunes.
Steps to Backup Using iTunes (Windows PC):
Step
Description
Download iTunes
Ensure you have the latest version of iTunes installed. (Download from Apple’s website)
Connect Your iPhone
Use a USB cable to connect your iPhone to the PC.
Open iTunes
Launch iTunes and click on the device icon in the upper-left corner.
Select “This Computer”
Under Backups, select Back up all of the data on your iPhone to this computer.
Encrypt the Backup
Click Encrypt iPhone backup and set a password.
Start the Backup
Click Back Up Now and wait for the process to complete.
How to Verify the Backup:
Action
Description
Check Your Backup on Windows (iTunes)
Go to iTunes > Preferences > Devices
Verify Backup Details
You will see a list of backups, including the most recent one.
Restoring Your iPhone After Repair
Once your iPhone is repaired, restoring your backup is simple:
For iCloud Restore
Turn on Your iPhone
Turn on your iPhone and follow the setup prompts.
Select Restore from iCloud
Select Restore from iCloud Backup and sign in with your Apple ID.
Choose the Latest Backup
Choose the latest backup and wait for the process to complete.
Action
Description
For Mac/Windows Restore
Connect Your iPhone
Connect your iPhone to your computer.
Open Finder/iTunes
Open Finder (Mac) or iTunes (Windows).
Restore Backup
Click Restore Backup and select the latest backup.
Final Thoughts
Backing up your iPhone before a repair is crucial to protect your data and ensure a smooth recovery process. Whether you choose iCloud, a Mac, or a Windows PC, the process is straightforward and ensures your contacts, photos, and apps remain intact.
Regular backups are a good habit—not just before repairs. With cyber threats and unexpected failures on the rise, ensuring you have a secure backup can prevent data loss and unnecessary stress.